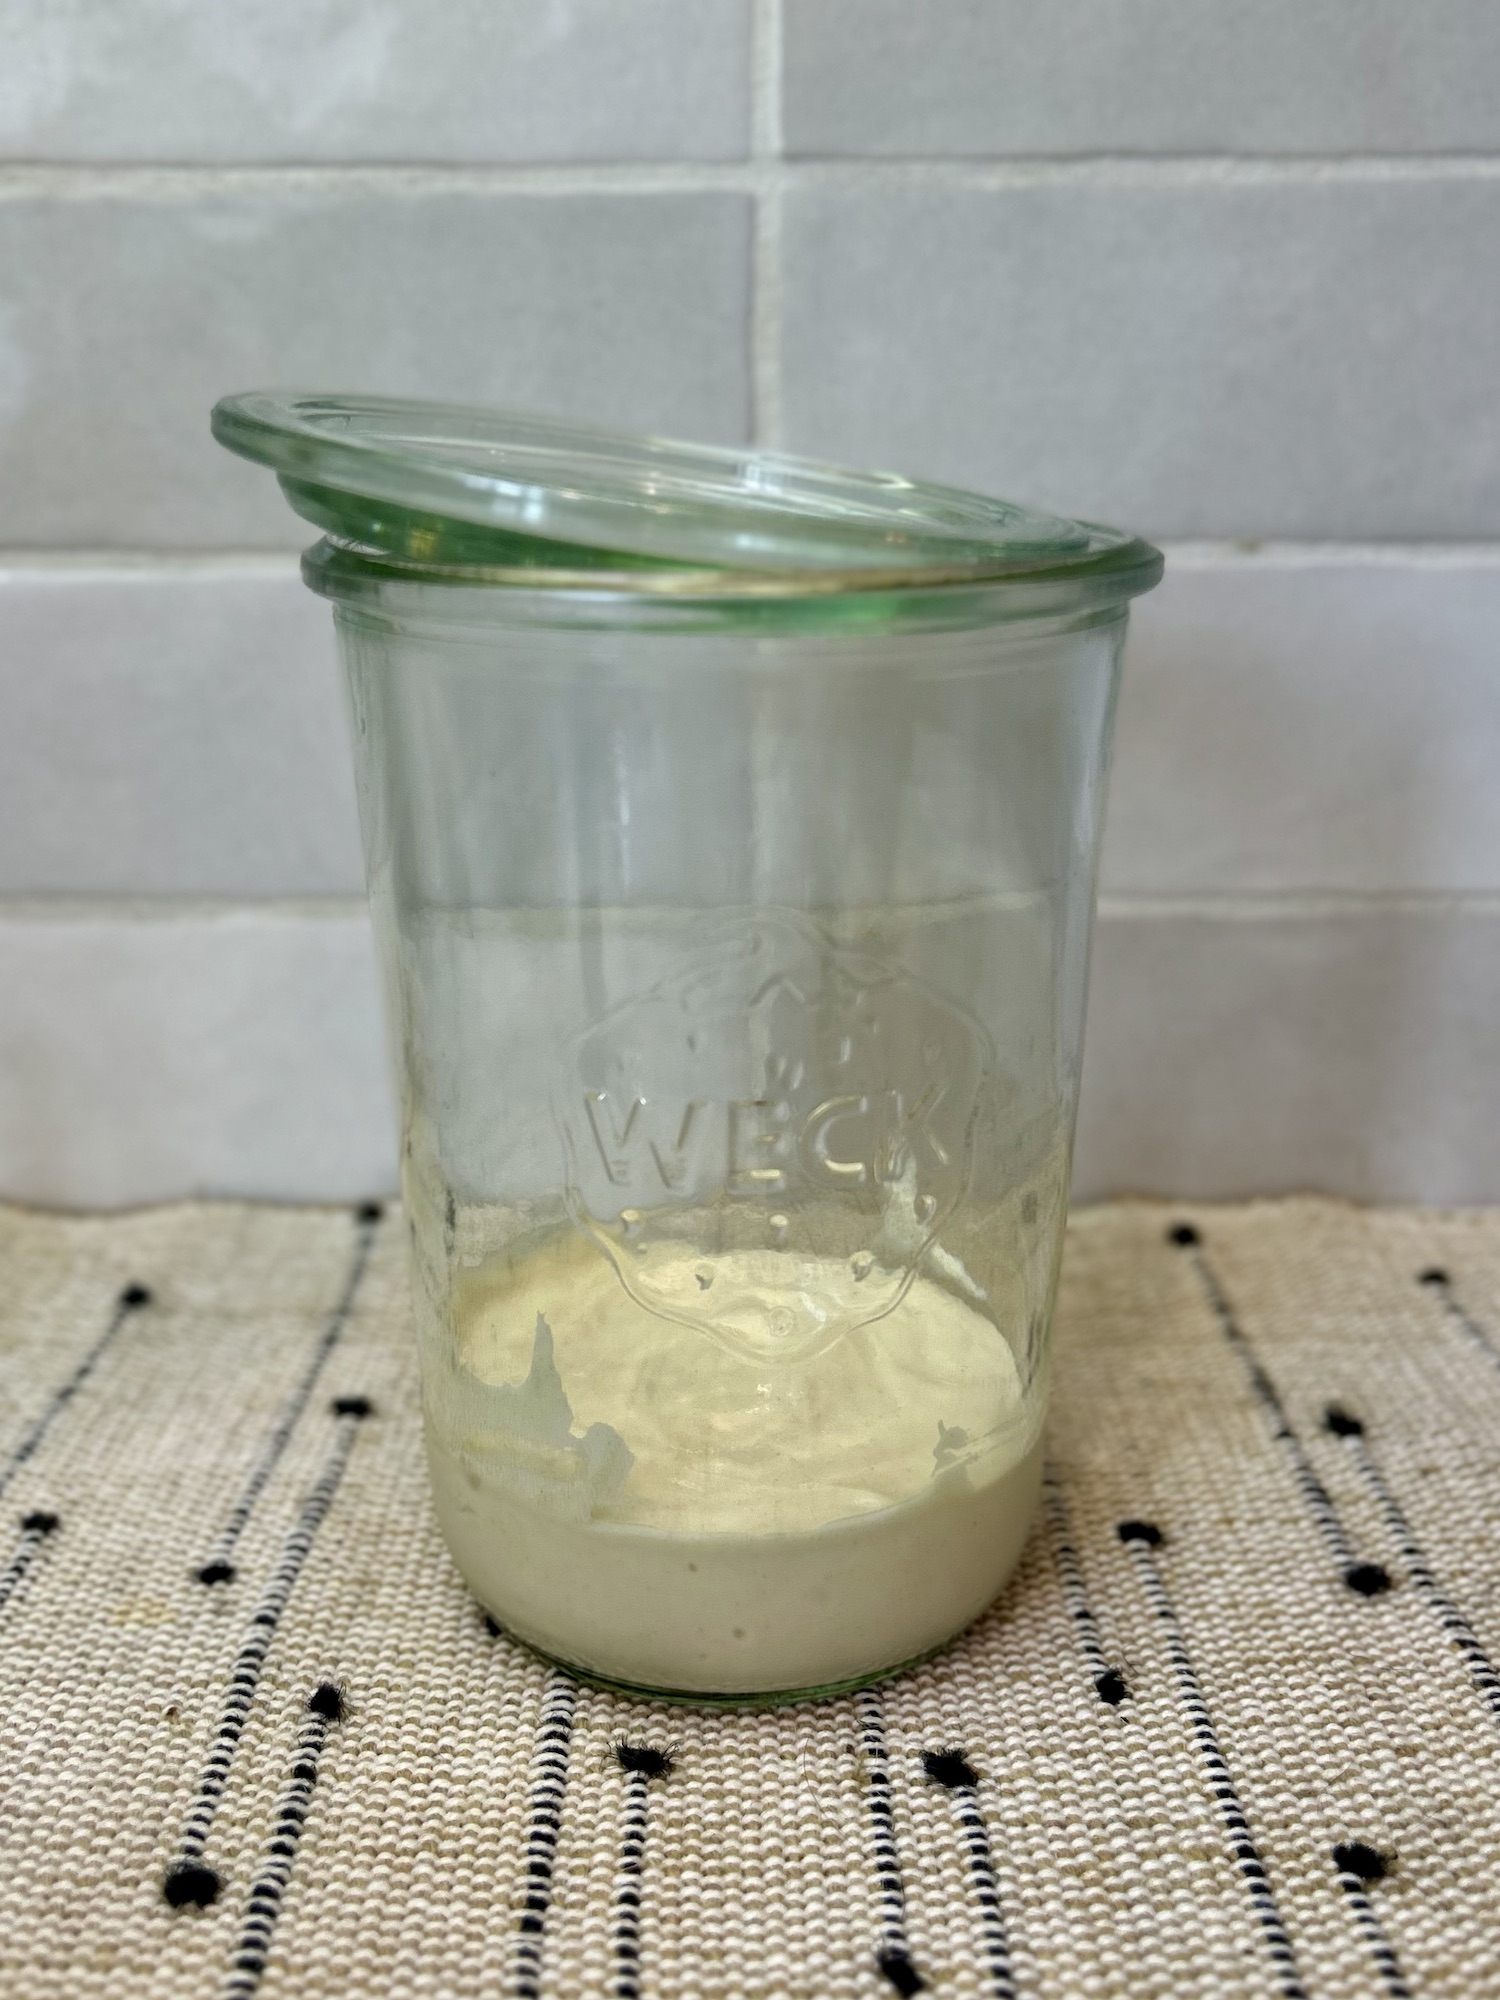
A sourdough starter is a living culture made up of wild yeast and bacteria. It’s the foundation for baking delicious homemade bread, but it requires regular care to stay healthy and strong. If you’re new to sourdough, don’t worry—taking care of your starter is simple once you get the hang of it. Here’s a quick guide to feeding and maintaining your sourdough starter.
What You’ll Need
To start, you’ll need:
• A clean jar or container (preferably glass)
• Unbleached all-purpose flour (or whole wheat, if preferred)
• Water (preferably filtered or non-chlorinated)
• A spoon for mixing (wooden is best)
Feeding Your Starter: The Basics
Feeding your sourdough starter involves adding equal parts flour and water. Typically, you’ll want to use a 1:1:1 ratio by weight (e.g., 50 grams of starter, 50 grams of water, and 50 grams of flour), or you can eyeball it. Here’s how to do it:
1. Discard: Before feeding, discard or use about half of your starter if you have a lot. This keeps the culture from growing too large and unmanageable.
2. Add Water & Flour: Add the same amount of water as your discard you want to use already in your jar. Start adding flour one spoonful (or weight measurement) at a time, mixing until the starter is smooth and well-combined. The mixture should have the consistency between a batter (like pancake batter) and a dough (think thick bread dough). Not too runny but not too thick.
3. Stir and Cover: Stir the mixture well, about a couple minutes, then cover loosely with a lid or cloth. Your starter needs to breathe, so don’t seal it tightly. If there’s too much airflow it will start to dry out on the surface. You’ll need it to be moist.
4. Let It Rest: Store your starter in a warm spot (ideally between 70-75°F or 21-24°C) for 12-24 hours before the next feeding. I find it rises best when it’s a bit warmer than room temperature. You can speed the rising process up by placing a heating pad under and around your jar, or even right next to a heater.
How Often to Feed Your Starter
• Active Starter: If you plan to bake often, feed your starter daily to keep it active and ready to use.
• Less Frequent Use: If you’re not baking regularly, you can refrigerate your starter and feed it once a week. Before using, take it out and let it come to room temperature, then feed it once or twice to “wake it up.”
Signs of a Healthy Starter
A healthy starter should:
• Bubble and rise double within 4-6 hours of feeding.
• It should have a slightly tangy smell, indicating the right balance of wild yeast and lactic acid bacteria.
• Double in size after feeding, showing that it’s strong and active.
Troubleshooting
• If it’s not rising, try cluster feeding it by adding l smaller amounts of water and flour everyday. You can also move it to a warmer spot.
• If there’s liquid on top (called “hooch”), simply stir it back in or pour it off before feeding. Hooch adds a bit more of a sour taste if you stir it in to make your starter a bit more tangy.
• You will know your starter needs thrown out if there are pink, orange, or other vividly colored streaks in it.
• If you find any questionable light grey or other non colorful spots on your starter you don’t like, simply remove hem with a spoon and feed your starter as normal.
Conclusion
Taking care of a sourdough starter is simple and rewarding. With a little attention, it will thrive and provide you with endless possibilities for baking. By following these basic steps—feeding regularly, keeping it warm, and watching for signs of health—you’ll be well on your way to crafting delicious, homemade sourdough bread. Happy baking!


