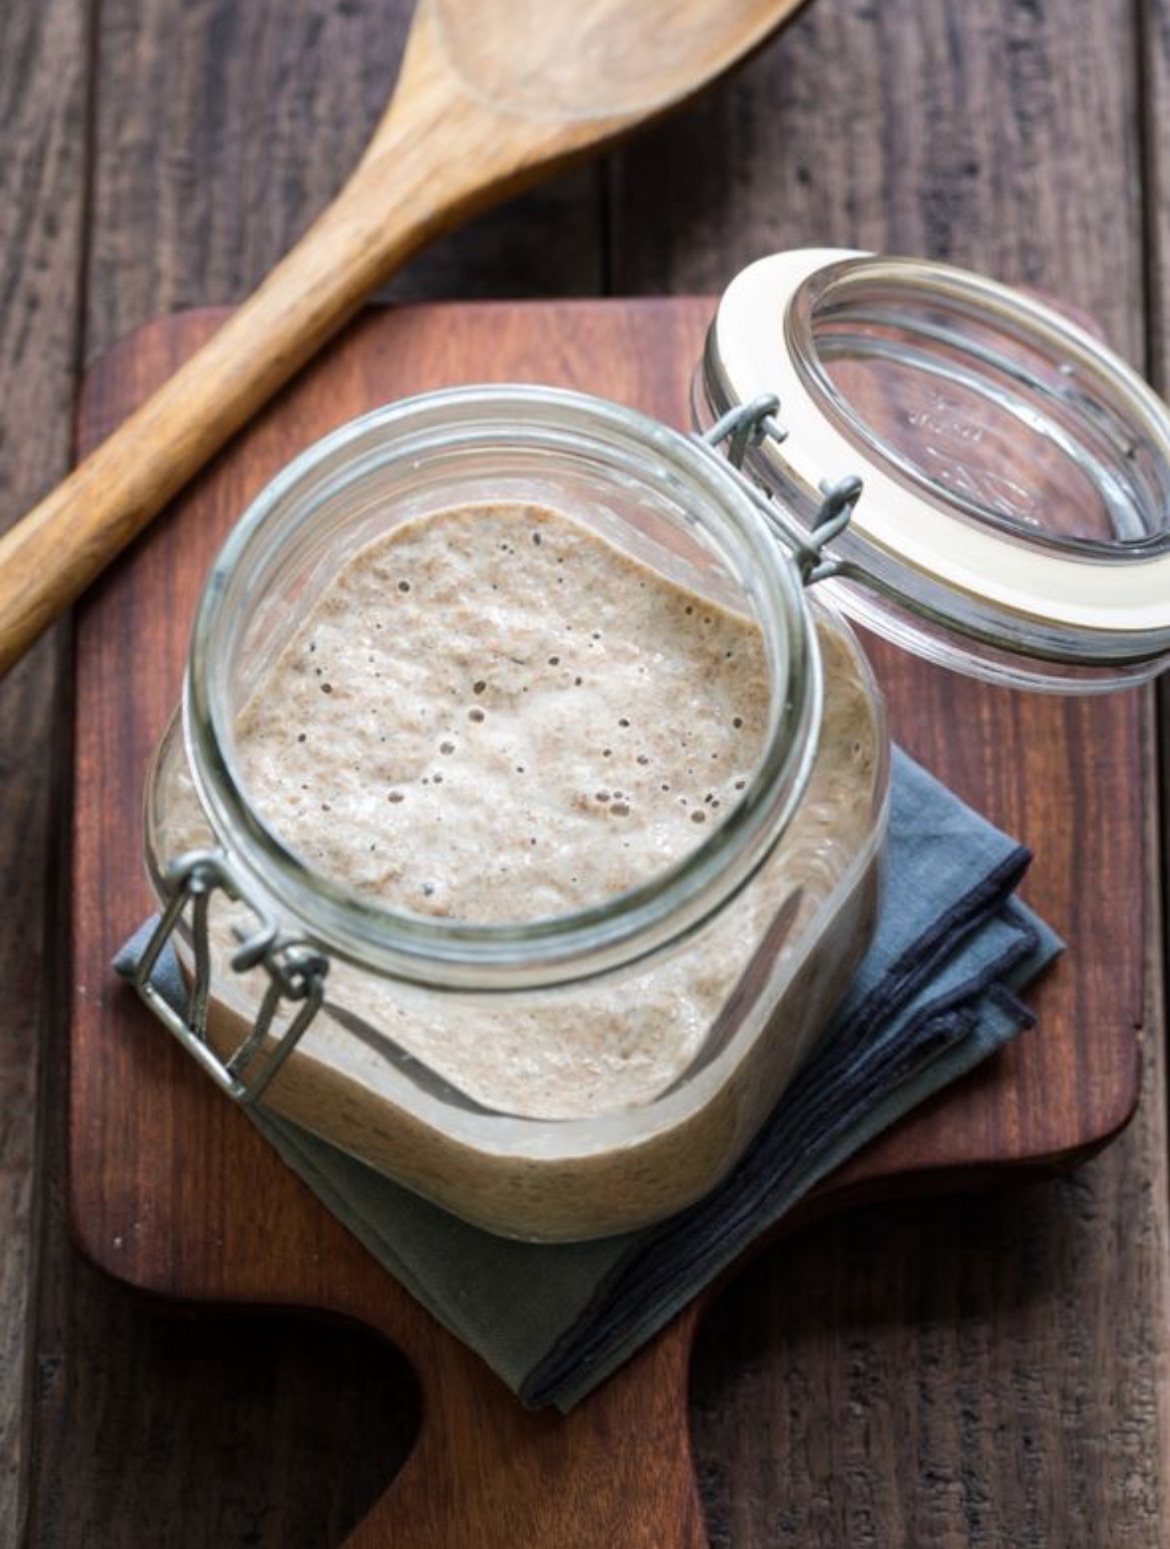

Making your own sourdough starter is a fun and rewarding process, and all you need is flour, water, and a bit of patience. A sourdough starter is a natural mixture of wild yeast and bacteria that will help leaven your bread, giving it that delicious tangy flavor. Here’s a simple step-by-step guide to get you started:
What You’ll Need:
• Whole grain flour is best (like whole wheat or rye) You may also use almost any kind of flour.
• Water (filtered is best)
• A jar or container
• A wooden spoon (or something to stir with)
Day 1: Mix Flour and Water
In your jar, combine 1/2 cup of flour with 1/4 cup of water. Stir until the mixture is smooth, then cover loosely with a lid or cloth to let air in. Leave it at room temperature for 24 hours.
Day 2: Feed the Starter
You may see a few bubbles already! Discard half of the mixture, and add 1/2 cup of all-purpose flour and 1/4 cup of water. Stir well, cover, and let it rest for another 24 hours.
Days 3-7: Keep Feeding
Repeat the feeding process daily: discard half the mixture and add equal parts flour and water. You should start to notice more bubbles, a slightly tangy smell, and some rising action. By day 5 or 6, your starter should be strong enough to use for baking!
Ready to Bake?
Your starter is ready when it doubles in size within 4-6 hours of feeding, and has a pleasantly sour smell. To test, drop a spoonful in a glass of water — if it floats, you’re good to go!
Final Thoughts
Creating a sourdough starter is all about consistency and patience. Once established, it can last indefinitely with regular feedings. Whether you’re baking bread or experimenting with other recipes, your homemade starter will be the key to delicious, naturally leavened baked goods. Happy baking!